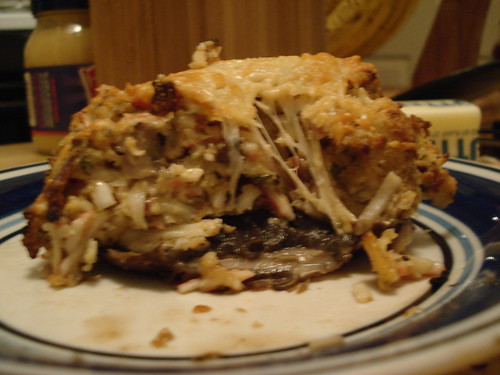
So instead of FO pics and stuff, here's a recipe.
"Crab" Stuffed Portabella Mushroom Caps

You'll need:
5 large portabella mushroom caps
3/4 lb. of fake crab meat - hand shredded (I basically just smooshed it through my fingers)
1/2 of a large red onion - chopped
1 tbsp. of dried parsely
1/2 tbsp. of dried oregano
1/2 tbsp. of dried chives
3/4 cup mayonnaise
1 large egg
4 slices fresh white bread (do not substitute)- torn into small pieces
1 red pepper - roasted*, peeled and chopped
2 tbsp. Dijon mustard
1 tsp. paprika
1/2 cup unseasoned breadcrumbs (more or less as needed)
1/4 cup powdery parmesan cheese (the kind you can buy in the little plastic can to put on spaghetti)
6 tbsp. shredded parmesan cheese (such as Sargento's or whatever type you like. You can even buy a brick of parm and grate it yourself if you like)
Instructions:
1. Preheat oven to 450 degrees and spray a baking sheet with nonstick cooking spray.
2. Clean four of the caps off with a damp paper towel, trim off any excess stem and place flat side down on the sheet. (You want the part where the stem is facing upwards like a sort of cup.)
3. Take the fifth cap and chop it up finely and put in a large mixing bowl and combine well with the rest of your ingredients except for the shredded parm.
4. Heap the caps on the baking sheet with the stuffing mixture (I used an ice cream scoop and put roughly two and a half scoops on each cap), and use a rubber spatula to pat down slightly to flatten just a bit into a "cake".
5. Bake for 8 minutes, remove from oven and sprinkle each each mushroom with 1 1/2 tbsp. of the grated parmesan cheese. Return to the oven and bake for an additional seven minutes - or until the cheese is melted and starts turning a light golden color.
6. Serve hot with garlic mashed red bliss potatoes and enjoy!
* When I use roasted red peppers in any dish, I usually make my own. And this is how I do it.
1. Trim off any excess stem from the top of the pepper.
2. Turn a front burner of your stove on medium-high and sit the pepper directly on the grate. Hold in place with long metal tongs, and keep there until the bottom is fully blackened.
3. Once the bottom is blackened, sit the pepper on it's side and let blacken as well, turning as you go so all sides are completely blackened - including the top. (If you have to, pick the pepper up and apply sections that aren't blackening properly directly to the flame in between the grate).
4. Once finished blackening the pepper, either put in a tightly fitting tupperware container and cover with the proper lid, or wrap in aluminum foil ( I prefer to do it this way) and let sit for at least an hour. This allows the steam coming from the roasted pepper to loosen the blackened skin and makes for easy peeling.
5. After at least an hour has past, remove from the foil and peel the blackened skin from the pepper. If a little of the blackened stuff remains (and you will still have flecks of it on the pepper no matter what you do), that's fine, but if it's too much for your liking, wipe additionally with a moist paper towel.
6.Cut just the green stem part of the pepper away from the flesh and discard, then split down the center and lay out as flat as possible. Strip the bitter white parts from the flesh and wipe any seeds away with a moist paper towel.
You can do this up to four days in advance, but I prefer to do it the day of whatever dish I'm preparing that requires it. If you're going to do it early, just store in the refrigerator in a small, airtight container drizzled with a little olive oil. Blot the oil away from the pepper prior to using. Also, it will only keep for four to five days in the fridge.
Now, this method only works if you have a gas stove. If you have an electric one, you can roast your pepper in the oven but it takes a lot longer. In that case, I'd just buy a small jar, and use up the entire jar for this stuffed mushroom recipe.
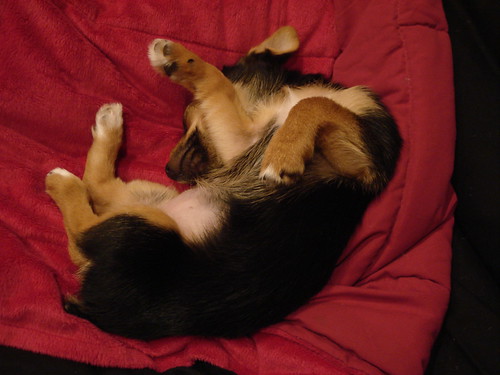
Also, just thought I'd end this post off with some puppy cuteness!


5 comments:
Awwwww...the puppy totally haz teh cute. :-)
STUFFED MUSHROOM PUPPIES?!!?!? AIIIEEEE!
Those mushrooms look good!!!! The puppy is soo cute, I love the little fat puppy belly
the stuffed mushroom looks awesome!
YUMMMY Stuffed 'shrooms!!!
The puppy cuteness hooked me :)
Post a Comment